
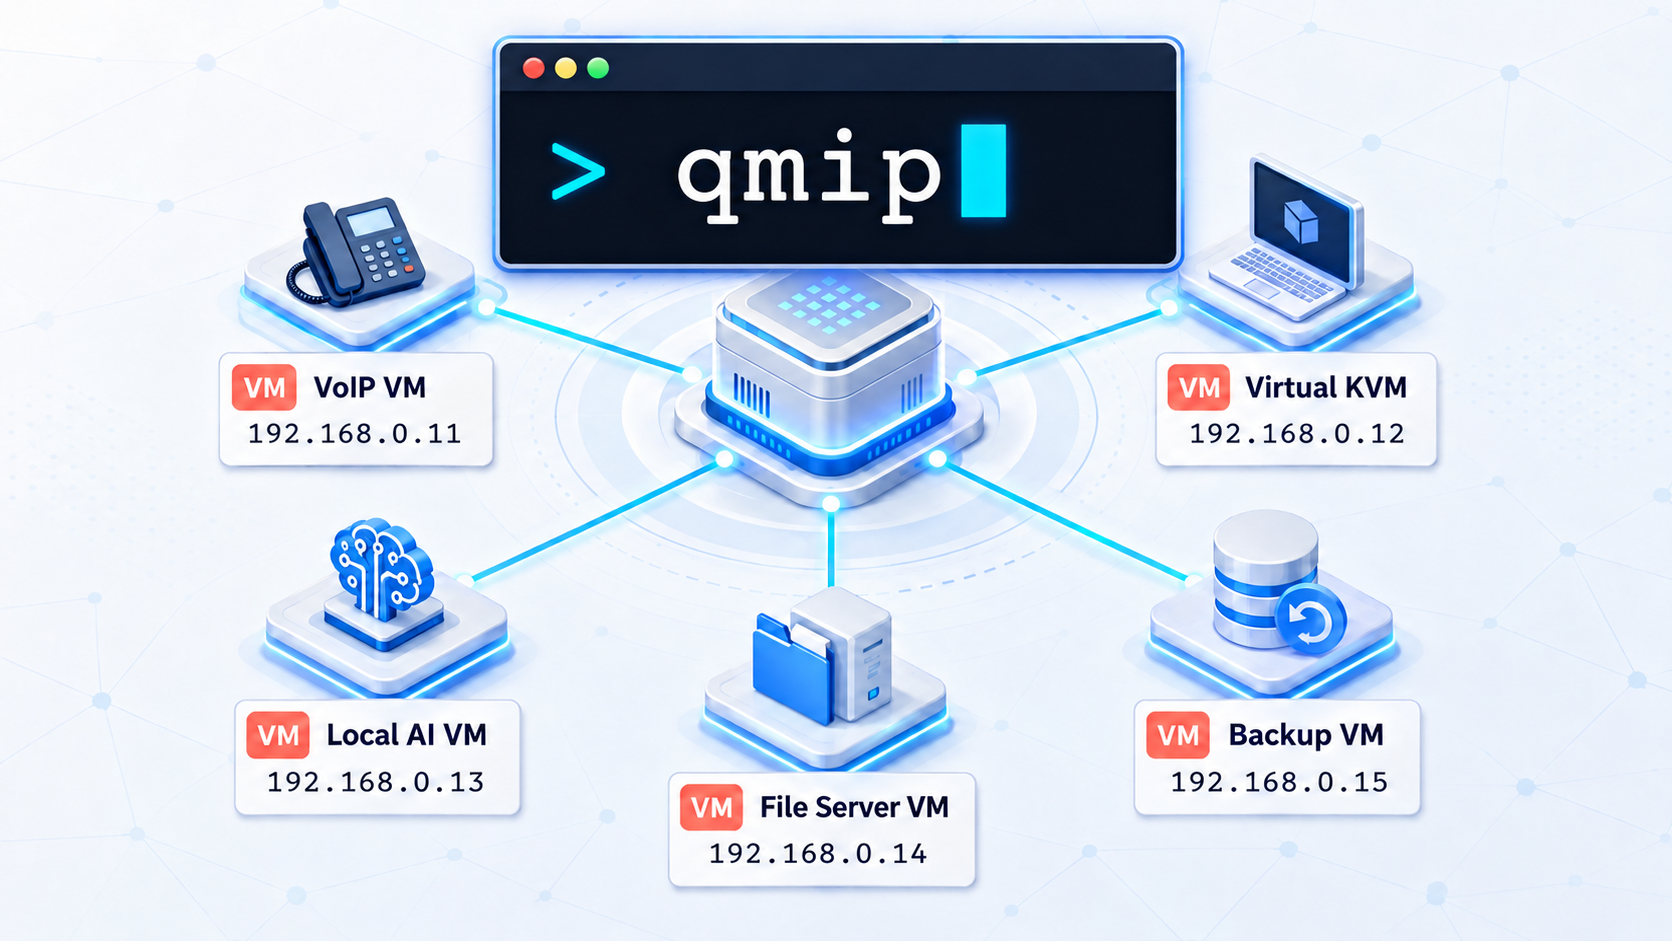
Streamlining Proxmox: How to View All VM IP Addresses with a Single Command
For tech enthusiasts and small business IT environments alike, Proxmox Virtual Environment has become a real favorite — a simpler, far more cost-effective, fully capable open-source alternative to the bloated, expensive virtualization platforms from the big enterprise vendors.
But as your environment grows past just a few virtual machines, navigating the web GUI gets tedious fast. A classic example: finding the IP address of a virtual machine.
The standard method means logging into the Proxmox GUI, drilling into the Datacenter, selecting the node, clicking into the specific running virtual machine (which needs the QEMU guest agent installed), heading to the Summary tab, and scrolling down just to find one IP address. If you need to check several VMs, that's a lot of clicking for not much information.
So here's a lightweight bash script we use ourselves, called qmip. It skips the menus entirely and shows everything you need in one four-letter command.
What It Actually Does
- No menu digging. Instantly shows the VMID , running status, name, and current IPv4 address for every VM on the host.
- Fast, with a safety net. It queries the Proxmox API directly and includes a 2-second timeout per VM, so a machine without the QEMU agent running won't hang your terminal or slow down the whole check.
- Good for a quick audit. Everything shows up in a clean, readable table — useful for a fast glance while you're already SSH'd into the host.
Setting It Up
Getting qmip running takes three steps: creating the file, pasting in the script, and making it executable.
1. Create a new file with nano:
nano /usr/local/bin/qmipThis opens the nano text editor with a new file named qmip under your /usr/local/bin folder.
2. Paste in the script below, then save and exit:
#!/bin/bash

printf "%-10s %-10s %-25s %-15s\n" "VMID" "STATUS" "NAME" "IP ADDRESS"
echo "---------------------------------------------------------------------"

# Read qm list once
qm list | awk 'NR>1 {print $1 "|" $2 "|" $3}' | while IFS="|" read -r vmid name status; do

    if [ "$status" = "running" ]; then
        display_status="Started"

        # Limit agent query to 2 seconds so bad/no-agent VMs do not slow everything down
        ip=$(timeout 2 pvesh get /nodes/localhost/qemu/$vmid/agent/network-get-interfaces --output-format json 2>/dev/null \
            | jq -r '(.result // .)[]? | .["ip-addresses"][]? | select(.["ip-address-type"]=="ipv4") | .["ip-address"]' \
            | grep -v "127.0.0.1" \
            | head -n 1)

        if [ -z "$ip" ]; then
            ip="No Agent/IP"
        fi
    else
        display_status="off"
        ip="N/A"
    fi

    printf "%-10s %-10s %-25s %-15s\n" "$vmid" "$display_status" "$name" "$ip"

done
Once it's pasted in:
- Press Ctrl + X to exit nano, choose Y to save the file, then press Enter.
3. Make it executable:
chmod +x /usr/local/bin/qmipThat's it — from now on, typing qmip from anywhere in your terminal will run the script.
Worth Knowing If You're Running This
The qmip script depends on the QEMU guest agent being installed and running on each VM — without it, you'll see "No Agent/IP" instead of an actual address, which is expected behavior, not a bug. It's read-only and doesn't change anything on your host or VMs, so it's safe to run any time.
Not a Proxmox Person Yourself? That's What We're Here For
If you found this page because you're managing your own Proxmox environment, we hope the script saves you some clicking. But if you're a local business owner who stumbled onto this looking for actual help with a virtualized server setup, air-gapped or immutable backups, or general infrastructure — that's exactly the kind of thing we handle day to day for clients across Broward and Palm Beach counties. Just reach out.